The copyright of all images shown on this page is owned by M. Feuerbacher.


Leicameter MR4 disassembly and window cleaning

by M. Feuerbacher, 2004.

This Leicameter MR4 was working well, but the previous owner had left an empty mercury battery in it for too long. Some battery fluid went through the bottom of the battery chamber and condensed on the back of the meter window. I was afraid that this would affect the meter reading and probably cause some more damage if I would leave it there. The following repair report describes how to access the meter window, but it can for large parts also be used as a guide of how to reach the meter cell, if the latter has to be replaced.

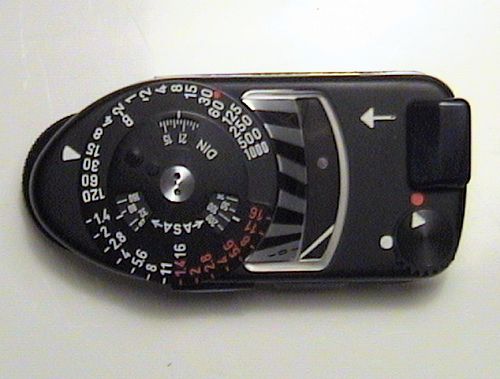
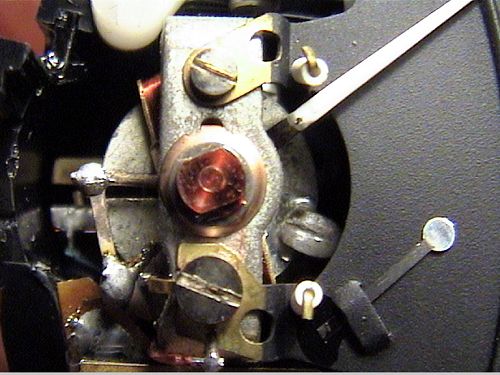
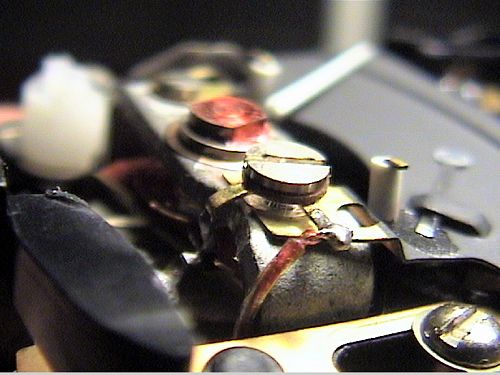
Remove the shutter speed and film speed selection disks on the top. Use a small spanner to open the central screw. Make a note of the order of the washers. I my specimen under the Asa dial there was a copper spring washer (curvature upwards), then the speed dial, then a big brown plasti washer and two steel washers with square holes.

In order to open the top cover you dont have to remove the accessory foot. You have to remove it only if you want to remove the battery cover for some purpose.
Remove the screws on the side of the cover.

Remove the two screws on top of the meter which were hidden by the selector disks.

Now comes the trick: While lifting up the top cover simultaneously move the battery-check button (arrow) to the left.

Unfortunately the window is not accessible directly. The black plate behind the meter needle has to be removed first.

You have to remove these two screws. The upper screws can straightforwardly be removed but the lower one...

... also attaches two wires. Opening it, make sure not to bend the wires. Take much care because on the left side of the brass washer the potentiometer spring is attached. Make notes of the washers (brown plastic, brass + wires, transparent washer).

Remove the black plate carefully and dont bend the meter needle. Try not to touch it at all, because the potentiometer spring is loose now.

The two marked screws have to be removed next. In order to reach the right one, you have to remove the battery-check lever as well. For that, shift it to the left again and lift it. There is a spring wire connected to it, but it can be taken off (and reconnected) easily.

Now you can take out the cover over the meter window. It comes off together with the rotating wedge as seen in the image. The window can be taken out and cleaned now.

The meter cell is now also accessible. In order to remove it you have to desolder two wires, which you can easily locate when you look from the bottom.

It is useful at this stage to clean the contacts of the battery check slider and the meter slider. The latter can be detached for that purpose simply by removing the single screw holding it. Clean the contacts (and the slider counterpieces) at the marked positions.


Reassembly is straightbackwards.

Thanks to Jan Dvorak and Henry Taber, who have helped me with this repair in the Classic camera repair forum.